Showing posts with label tutorial. Show all posts

Friday, April 13, 2012

Luggage (or Decorative) Tag Tutorial


My Love has an ugly plastic luggage tag on his suitcase. I tease him about it every time he travels. So I thought that I should replace it with something better! I loved the tag that I created for him, so I thought I would share it with you. It takes quite a few steps to make, but not a lot of time. Enjoy!

Supplies

  • fabric of your choice (at least 11" x 9") Need fabric? Check out the Able to Sleep Fabric Shop!
  • fusible interfacing
  • washable fabric marker or chalk
  • coordinating thread
  • about 12" of coordinating ribbon
  • cardstock or scrapbooking paper
  • sewing machine, pins, scissors, etc.


Instructions 


1. Download the tag pattern from here. Print it out. (When you print the pattern, make sure that it is not scaled. You can double check by measuring the tag outline. It should be 5.5" by 4.5".)


 2. Cut out the tag pattern along the solid black lines (including the notches on the side) and make a slit along the red dashed line. Set aside the "Tag Insert Template" until Step #13.


3. Use the pattern to cut out two pieces of fusible interfacing and two pieces of fabric. Notch the fabric where indicated. Do not cut the fabric along the (red or black) dashed lines.


4. Iron the interfacing onto the wrong side of the fabric.


 5. Set aside one piece of fabric. Take the pattern and cut out the rectangle and along the black dashed lines in the center. Pin the pattern to one of the pieces of fabric and cut out this square and dashed lines from the fabric.


6. Iron the flaps in the center towards the wrong side of the fabric to create a "window" in the middle.

7. On both pieces of fabric, fold over the top of the fabric where you notched it earlier. Iron along the fold.


8. Top-stitch very close to the edge of the window that you have created. Also top-stitch slightly less than 1/4" from top edge that you ironed on both pieces. Trim excess fabric from around the window.


**Top-stitching Tip** Instead of back-stitching to lock the stitches when you top-stitch, leave a long length of string (about 4") hanging when you sew. When you are done sewing, take a hand-sewing needle and pull the strings from the front to the back of the fabric. Tie the ends of all four strings in one knot and trim the strings. This gives a cleaner appearance to your top-stitching.

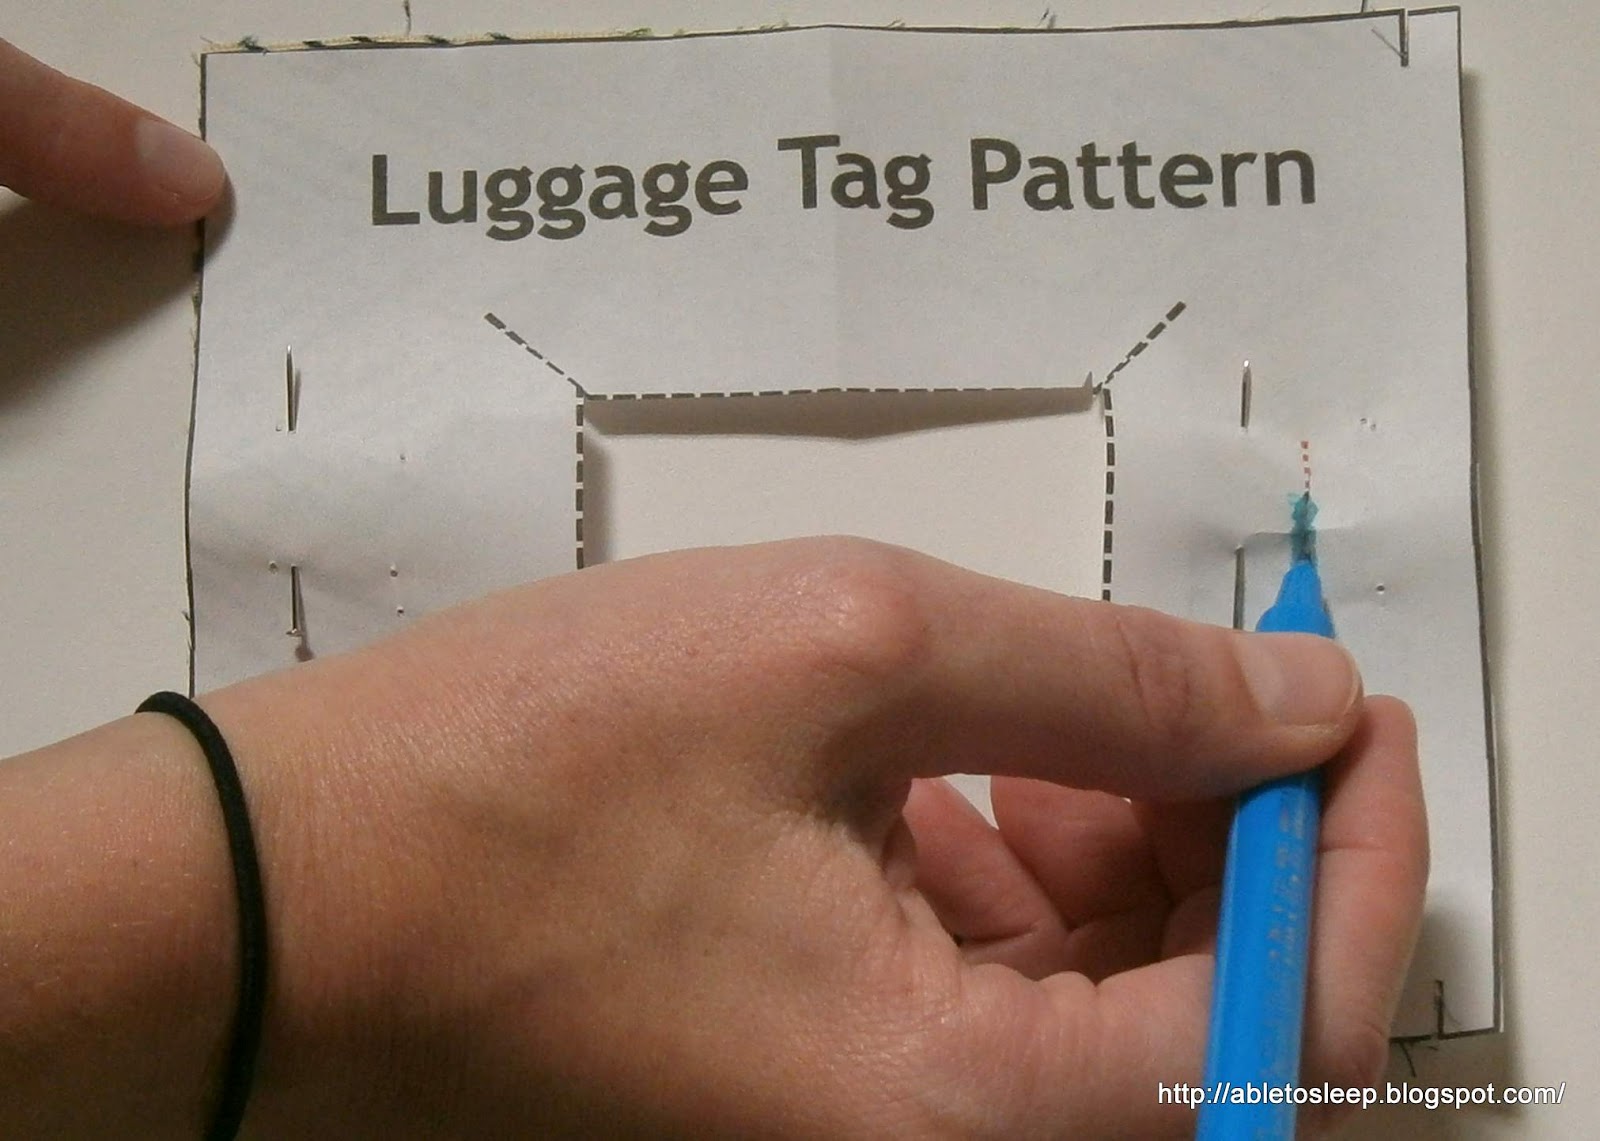


9. Using the slit (red dashed line) on the pattern as a guide, draw a line on the right side of each piece of your fabric. Make a button hole on each piece of fabric separately at the location you have drawn your line. 


**Don't know how to make a button hole?** Check out these resources: Here are the instructions that came with my machine for creating a button hole. This video shows a nearly identical process. I am assuming that most machines have similar procedures.


10. Pin your two pieces of fabric right sides together. Make sure the edges and button holes line up. Sew with a 1/4" seam allowance. Notch the corners and trim the excess fabric.


 11. Turn your tag right side out and push out the corners. (I use a chopstick.) Iron the tag.


12. Top-stitch around the three sides of the tag that are not already top-stitched.

13. Make an insert for your tag using the template and cardstock or scrapbooking paper. Slide the insert into the tag so that it is visible through the window. (You may want to laminate your insert for a bit more durability.)


14. Tie ribbon through the loop.

15. Admire your handiwork!


I am tempted to make tags for everything in my house now...

Friday, February 10, 2012

My First Garment!


I am very excited about today's post. This tunic is the first (wearable) garment that I have sewn for myself! Let me share with you how it came to be.

I stumbled upon a free pattern from HotPatterns.com for a Fringe Festival Knit Top. I really liked the simplicity of it for my first clothing project. I printed the pattern and cut the fabric. I made one change initially: I cut the back and front as one single pieces rather than splitting them in half as shown on the pattern. I sewed the front and back together at the shoulders. Then the pattern and fabric sat in my "to be sewn basket" for a couple of months...

In the meantime, I started working on one of these dresses:

Picture from Simplicity

I am working on top H with bottom J, if you are interested. The dress is much more difficult than the tunic top, so when I got frustrated with it, I went back to the tunic. The dress is still in the works, but the point of my side story is that working on the dress taught me a couple of new sewing techniques...

When I finally picked up my fabric that I had cut for the "Fringe Festival" top, I decided that I did not really want the scarf part of the shirt. So I made a few changes:

First, I decided to make a finished neckline rather than having the attached scarf. To create the finished neckline, I took the pattern and cut a strip 2.5 inches from the neckline on the front and back. Let's call those 2.5 inch wide pattern pieces my "neckline pattern."


I cut my neckline pattern out of my fabric. (The fabric is folded in the picture below.)


Then, I sewed the front and back neckline pieces together, right sides together.


Next, I pinned the neckline pieces to my previously sewn together shirt pieces, right sides together, and stitched all the way around the neckline.

After sewing the shirt and lining pieces together, I notched the fabric at the "v" of the neck and restitched there to reinforce the "v" shape. (This is one of the new skills that I learned while working on my dress.) After that, I used another one of my new skills. I "understitched" all of the way around my neck seam. Look at this video to see how to do it:


The seam was still not as fixed as I wanted it to be, so I stitched through both pieces to hold down the lining. I then cut off the excess fabric on the inside. This is what it looks like on the inside and outside of the neck: (Forgive my not so straight stitching.)


For the sleeves and bottom, I folded over the fabric and stitched the hem using my new Twin Ballpoint Needle that I bought on Black Friday.


I was a little sad to see that the fabric is puckered-looking between the two rows of stitching. Can anybody tell me why that happened?


I also used the extra fabric to make a belt for the tunic. I just folded a long strip of fabric in half with the right sides together and sewed along the edge to make a long tube. Then, I flipped the tube right side out, folded the ends toward the inside and stitched the ends closed. Super simple.

The last thing that I did was add beads to the neckline. You can see how I did that here. Here is the final product:

Friday, February 3, 2012

Mini-Tutorial: Add Beads to a Shirt

I just completed one of my first garments! I made a tunic from a deep purple knit. But you have to wait until next week to see it... Will the suspense kill you?

After I sewed the neckline of the shirt, I was unhappy with how it turned out, so I wanted to hide modify it a bit. I decided to add a row of beads around the neck. I was not quite sure how difficult this would be, but I headed to the craft store and found beads and a beading needle (which I promptly bent, oops) and set to work. I was pleasantly surprised by how easy it is. I learned that you can add beading in essentially three steps:

Helpful tip: knot the thread through the back side of the fabric every five beads or so. That way, if the thread ever breaks, all of the beads will not fall off.

The beads are not perfectly straight, but I think that it adds character! I am going to have to beadazzle more clothes now! Check back next week to see the completed tunic.

Saturday, January 14, 2012

Headband Tutorial

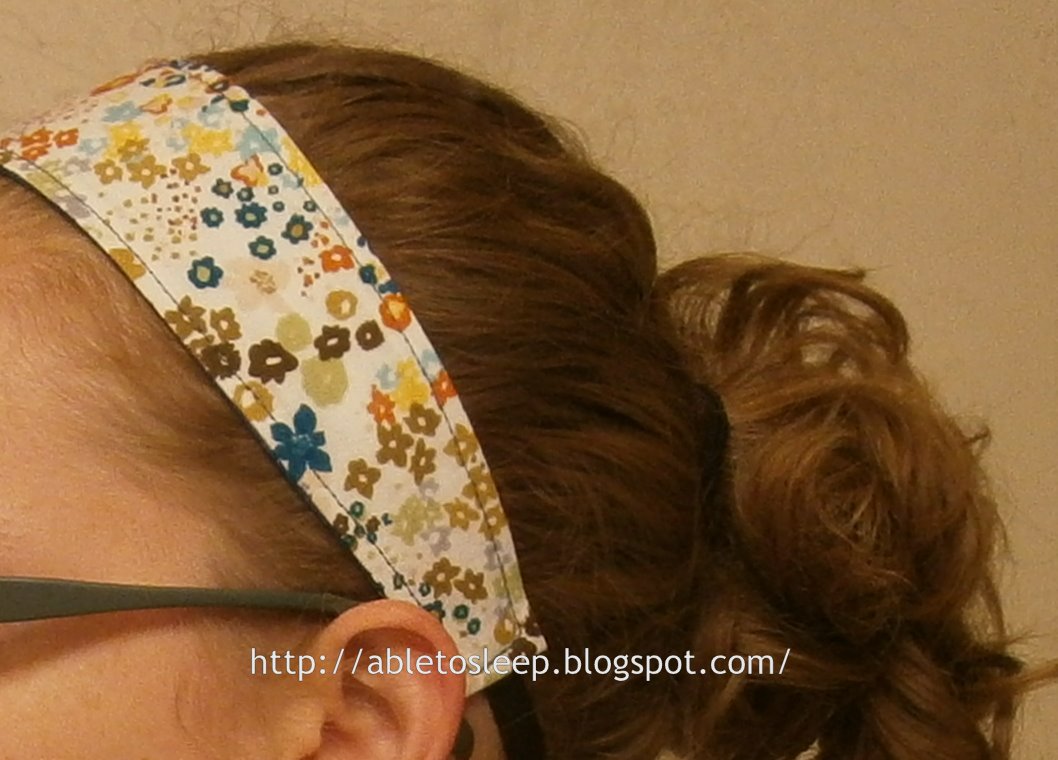
It is very difficult for me to find headbands that stay on my head, hold my hair, and don't give me headaches. I am so demanding! This headband works perfectly. Here is a tutorial for you to make your own.

Supplies
  • Two small pieces of coordinating fabric (about 3"x16" each)
  • Fusible interfacing 
  • About 8-10" of elastic (I prefer 3/8" width)
  • Thread

Directions
1. Print this pattern
2. Fold the fabric in half, pin the pattern in place, and cut out. Repeat for the coordinating fabric and two times on the fusible interfacing
3. Be sure to notch the cut out pieces on the place indicated on the pattern
4. Attach the fusible interfacing (mine is in pieces because I was using up scraps...)
5. Place your fabric pieces right sides together and sew from the notch on one end, following the curve of the fabric, until you reach the notch on the other end. Remember to back stitch at the beginning and the end. The pattern allows for a 1/2" seam allowance. Repeat on the other side of the headband.
6. Trim the excess fabric in between the notches.
7. Carefully flip the headband right side out. It is a tight squeeze, but it gets easier once you get it started. Iron. 
8. At the ends of the headband, where the two sides did not get sewn together, fold in the sides. Iron.
9. Fold over the ends of the fabric and tuck in. Iron.
9. Insert the elastic into the space between the two sides. Pin in place. Carefully try on the headband to test if the elastic is the proper length. (Try not to stick your ears with the pins in the process.) Adjust the length of the elastic, as needed.
10. Top stitch around the entire head band. At the ends where the elastic is placed, stitch back and forth for extra strength.
And you are done! Wear and love.