Wednesday, May 16, 2012

Ideas and Inspiration: Quilts

I have been thinking about tackling a quilting project. I am accumulating fabric to make a queen-sized bed quilt, but I think need to practice some smaller quilts/blocks first. I have found some really cool (and free!) resources on the internet. Here are a few:

I started making these right before exams. (Not a good time to start a project...) I have finished one of the quilt blocks and just need to sew together the last four pieces of the other. I will post them soon!

This Craftsy class is free! I learned from the lovely ladies at the Artisan's Square Sewing Forum that when you first register for Craftsy, you can purchase as many classes as you like for $25 each. That is a huge discount!

This is what made me first get interested in quilting. I always thought of quilts as very old fashioned. These blocks are anything but old fashioned!

Monday, April 30, 2012

I spy school

Images clockwise from top left are from: the bookfair, Maybe Matilda, Sweet Potato Chronicles, Target

I have not posted in a little while because I have been overwhelmed by school! I signed up for too many classes this semester. Thankfully, this is the last week. Only a few exams stand between me and more time for sewing. Since I have been consumed with school lately, I thought that I would share some school related goodness. 
 
This Etsy shop was created by Kate of the amazing blog Scathingly Brilliant. When I saw the Book Fair Button with stickers that you can apply as you finish your books, I laughed out loud. Children of the 80s-90s, how much did you love Book-it? I got my free pizza every single month!


I should make myself more bento style meals because I am a grazer. And they are just too cute. (My Love tells me that I eat like a child. I guess this confirms it...)


Friday, April 20, 2012

Sorbetto Top


I recently stumbled across the *free* pattern for the Sorbetto top from Colette Patterns. I immediately went looking for the perfect fabric. I wanted something bright and cheerful for spring and also something that was silky feeling. I found this orange, pink, and brown ikat fabric in the clearance bin! I was so excited about it until I was getting it cut at the store. The lady in line behind me commented on all of the stripe matching that I was going to need to do. I hadn't thought of that! 

Needless to say this took me much longer to make than I originally anticipated. I looked at a lot of websites to find a way to match stripes correctly. The best resource that I found was from the Sewaholic blog. The post is here. It contains a lot of pictures and clear explanations. I did okay for my first striped garment, I think. On the sides, the seams are not perfect, but they are close enough that it is not distracting. One thing that I did not think about when I was cutting the fabric was the position of the dart. I should have made the dart inside one of the large stripes. Live and learn.


The fabric is very sheer so I also bought lining fabric to go underneath. I just cut out the pattern pieces from both the lining and the top fabric and pinned them together like they were a single fabric piece. 


I used French seams on the inside. It makes the inside look so much more clean! I found a good tutorial on French seams on the Coleterie blog. This is by far the prettiest inside of anything that I have ever made.

 
Looking at the pattern, I could tell that the top was going to be short, so I added two inches at the bottom for a little more length. I am not particularly tall (5'4") and I think that my torso is fairly short, but the top was still much shorter than I normally wear. I have worn the top both with jeans (untucked) and with a skirt (tucked in) and I am definitely more comfortable with it tucked in. The top is also a bit tight in the armholes. I am planning on making another Sorbetto top because I really like the style. Next time, I am going to add 0.5" to the top of the pattern to give me more ease in the armholes and several more inches at the bottom for length.

With all of that said, this is my favorite piece of clothing that I have sewn for myself!

Friday, April 13, 2012

Luggage (or Decorative) Tag Tutorial


My Love has an ugly plastic luggage tag on his suitcase. I tease him about it every time he travels. So I thought that I should replace it with something better! I loved the tag that I created for him, so I thought I would share it with you. It takes quite a few steps to make, but not a lot of time. Enjoy!

Supplies

  • fabric of your choice (at least 11" x 9") Need fabric? Check out the Able to Sleep Fabric Shop!
  • fusible interfacing
  • washable fabric marker or chalk
  • coordinating thread
  • about 12" of coordinating ribbon
  • cardstock or scrapbooking paper
  • sewing machine, pins, scissors, etc.


Instructions 


1. Download the tag pattern from here. Print it out. (When you print the pattern, make sure that it is not scaled. You can double check by measuring the tag outline. It should be 5.5" by 4.5".)


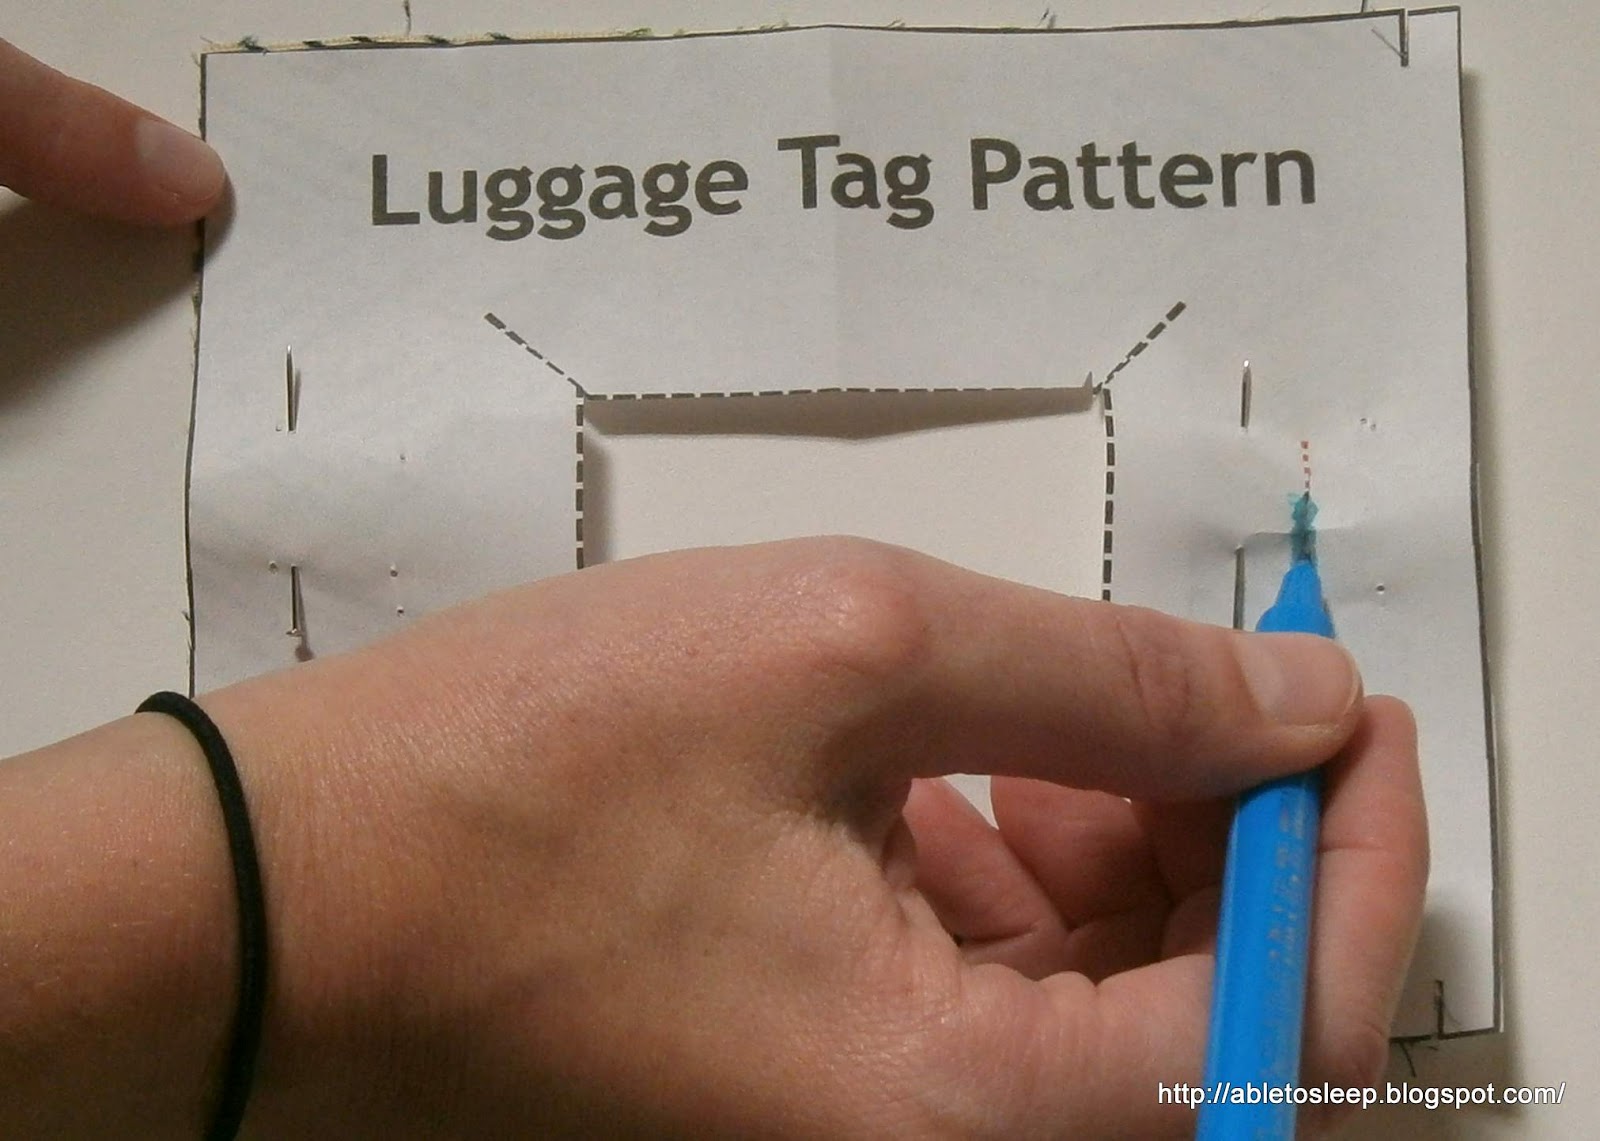
 2. Cut out the tag pattern along the solid black lines (including the notches on the side) and make a slit along the red dashed line. Set aside the "Tag Insert Template" until Step #13.


3. Use the pattern to cut out two pieces of fusible interfacing and two pieces of fabric. Notch the fabric where indicated. Do not cut the fabric along the (red or black) dashed lines.


4. Iron the interfacing onto the wrong side of the fabric.


 5. Set aside one piece of fabric. Take the pattern and cut out the rectangle and along the black dashed lines in the center. Pin the pattern to one of the pieces of fabric and cut out this square and dashed lines from the fabric.


6. Iron the flaps in the center towards the wrong side of the fabric to create a "window" in the middle.

7. On both pieces of fabric, fold over the top of the fabric where you notched it earlier. Iron along the fold.


8. Top-stitch very close to the edge of the window that you have created. Also top-stitch slightly less than 1/4" from top edge that you ironed on both pieces. Trim excess fabric from around the window.


**Top-stitching Tip** Instead of back-stitching to lock the stitches when you top-stitch, leave a long length of string (about 4") hanging when you sew. When you are done sewing, take a hand-sewing needle and pull the strings from the front to the back of the fabric. Tie the ends of all four strings in one knot and trim the strings. This gives a cleaner appearance to your top-stitching.


9. Using the slit (red dashed line) on the pattern as a guide, draw a line on the right side of each piece of your fabric. Make a button hole on each piece of fabric separately at the location you have drawn your line. 


**Don't know how to make a button hole?** Check out these resources: Here are the instructions that came with my machine for creating a button hole. This video shows a nearly identical process. I am assuming that most machines have similar procedures.


10. Pin your two pieces of fabric right sides together. Make sure the edges and button holes line up. Sew with a 1/4" seam allowance. Notch the corners and trim the excess fabric.


 11. Turn your tag right side out and push out the corners. (I use a chopstick.) Iron the tag.


12. Top-stitch around the three sides of the tag that are not already top-stitched.

13. Make an insert for your tag using the template and cardstock or scrapbooking paper. Slide the insert into the tag so that it is visible through the window. (You may want to laminate your insert for a bit more durability.)


14. Tie ribbon through the loop.

15. Admire your handiwork!


I am tempted to make tags for everything in my house now...

Wednesday, April 11, 2012

Etsy Shop!

I have exciting news!


(Perhaps you already noticed the link added to sidebar of my blog...)]


I have opened up a fabric shop on Etsy!


You can find all of the beautiful fabric here.


I have new, repurposed, and vintage fabric


by the yard and in fat quarters.

Friday, April 6, 2012

I spy Easter

Images clockwise from top left are from: A Thrifty Mom, Seychelles Footwear, New York & Company, Brach's, sissyprint 
 
My sister is the deviled egg maker in the family so I sent this tutorial to her the minute I saw it. As expected, Grandma requested that she bring deviled eggs for Easter dinner on Sunday, so hopefully the family will appreciate these as much as I do.

What great colors for spring.

This dress reminds me of a dyed Easter egg!
(Side note: I do not recommend wearing the sandals above with this dress. That might be a bit much...)

I am glad that Easter is nearly here because I need to cut back on my jelly bean intake. It is much easier to do when the store shelves are not full of them!
 
This is free to download at sissyprint. I am going to print them out for my love to find around the house on Easter morning (like an egg hunt that he doesn't even know he is in.)

Friday, March 30, 2012

Smocked Honeycomb Skirt


Have you ever worked really hard on something and just don't like the final result? That is how I feel about this smocked skirt. The one shown in the tutorial on the Victory Patterns blog is so cute! Why didn't mine turn out as well?

I adjusted the waist size several times and put the zipper in twice, but I still don't think that it fits very well. One reason is probably my lack of patience. Another is that the thread in the smocking keeps stretching. The pinched together sections were very tight when I first finished, but now are much looser. I knotted each smocked piece separately because I did not like the "pulled" then "slack" parts shown in the tutorial. Perhaps that is the problem.


Here is the final product. I may try belting it and wearing it higher on my waist. It saddens me to cover all of the smocking, but if I wear it more often, then it is a sacrifice I am willing to make. Or maybe I will continue to adjust the fit in the waist to make it more snug. 


In happier news, I have been doing so much sewing lately. I finished the shirt that I told you about last week and I have another (hopefully better) skirt in the works. I am also toying with the idea of making a quilt!

Friday, March 23, 2012

Patterns: one done, one to do

Today, I am going to the fabric store so I can start a new project. I am going to make the Sorbetto top from Colette Patterns that is posted on their blog, Coletterie. It is free to download. (Have you noticed that I love free?)

Picture from Coletterie

I also finished a skirt last week. It is the Smocked Honeycomb Skirt from Victory Patterns. You can find the tutorial here on their blog. I wanted to show you my finished skirt today, but alas, I have not had a chance to take pictures yet. Check back soon...

Picture from the Victory Patterns blog